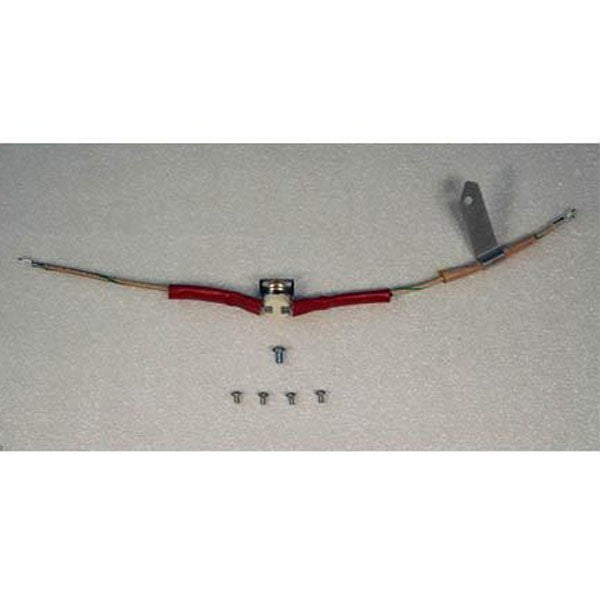
3M 9209 PG II Thermostat TCO Repair Kit 3M
$ 113,00 $ 45,20
3M 9209 is our most popular 3M repair kit. We recommend that if you have 2-5 PG II glue guns operational keep one repair kit on hand, 6-15 PG II glue guns it’s nice to have two 9209, 16-20 glue guns in use best to have 3 of the thermostat TCO repair kits.
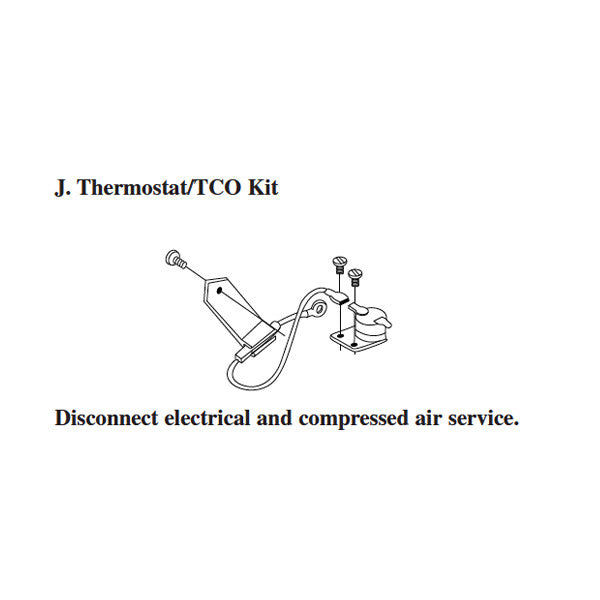
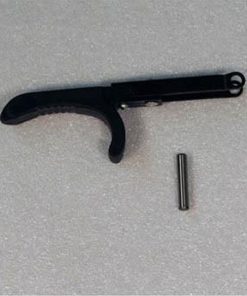
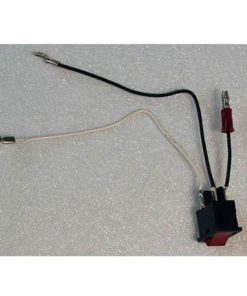
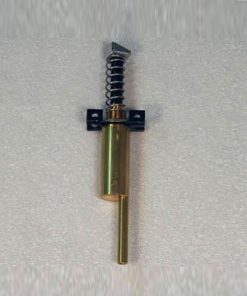
Make sure your PG II pneumatic glue gun is disconnected from electrical and compressed air service. Remove the 3 screws from the heat shield. The thermostat and TCO are assembled as a unit you need to replace the entire old unit, regardless of which piece has failed. Remove the Quick-Slide clips from the current thermostat. Then remove the two screws holing the thermostat in place and pry the thermostat from the block. Next simply insert your new thermostat. Make sure the rear rim of the thermostat has been slipped into the slot in the heat block before affixing the screws. The thermostat cutout assembly is removed by unscrewing the Phillips screw that holds the thermal cutout to the head block on the stand off strips. Remove the other end of the thermal cutout from the terminal strip with a small Phillips screwdriver. Naturally the procedure is reversed when replacing the thermal cutout.
| Spare Part Type | 3M PG II Thermostat TCO Repair Kit |
|---|
Fast Shipping and Professional Packing
Our long-standing relationships with UPS FedEx DHL and other international carriers gives us the ability to provide an array of shipping services. Our warehouse staff are educated to pack your items exactly according to the specifications that we supply. Before they are shipped the goods are thoroughly inspected and secured. Every day we ship hundreds of packages to our customers from all over the world. This is an indication of our dedication to being the biggest online retailer in the world. There are distribution centers and warehouses across Europe and the USA.
Orders with more than 1 item are assigned processing times according to each item.
Prior to shipping before shipping, we'll conduct a thorough inspection of the items you have ordered. The majority of orders today are shipped in 48 hours. The expected delivery time will be between 3-7 days.
Returns
The stock is constantly changing and not fully managed by us due to the involvement of multiple parties including the factory and our warehouse. This means that the actual stock could fluctuate at any moment. It is possible that your order may be out of stock when the order is placed.
Our policy is valid for 30 days. Unfortunately, if 30 days have passed after you bought your item, we will not be able to provide a refund or exchange.
In order for your item to be eligible for return it must be in its original packaging, unopened and in the condition you received it. It should also be returned in its original packaging.
Related products
Spare Parts
Spray Cleaner
Accessories
Silicone
Hot Glue Sticks
Spare Parts
Spare Parts
Hot Glue Sticks
Spare Parts
Hot Glue Sticks
Glue Gun Nozzle
Acrylic Adhesive
Hot Glue Sticks
3M 3748 Glue Sticks for Electronics and Potting – PG Sticks 3M
Hot Glue Sticks
Glue Gun Nozzle
Hot Glue Sticks
Spare Parts
Glue Gun Nozzle
Acrylic Adhesive
Accessories
Acrylic Adhesive
Spare Parts
Spray Adhesives
Hot Glue Sticks
Hot Glue Sticks
Spray Adhesives
Hot Glue Sticks
Spare Parts
Hot Glue Sticks
Hot Glue Sticks
